Fix NordVPN Stopped Working In Windows 11
If you have been facing issues with NordVPN, then this article will help you with that. In this article, we will be discussing how you can fix NordVPN not working on Windows 11.
1 Fix NordVPN Stopped Working In Windows 111.1 Run NordVPN In Compatibility Mode1.2 Change The VPN Protocol Settings1.3 Update NordVPN1.4 Reinstall NordVPN TUN Drivers1.5 Reinstall The Network Drivers2 Conclusion
Run NordVPN In Compatibility Mode
NordVPN may not be compatible with Windows 11, due to which you may face issues. You should try running the NordVPN in compatibility mode. To do so, follow the steps given below-
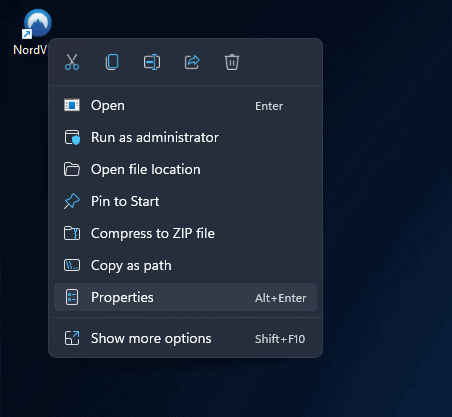
Click on the NordVPN icon on the desktop. Or, in the Start Menu, search for Nord VPN, right-click on the app, and then click on Open File Location. Now, right-click on the icon on the desktop. If you are headed to the file location, then right-click on the application located here.Right-clicking will open the context menu. In the context menu, select Properties.
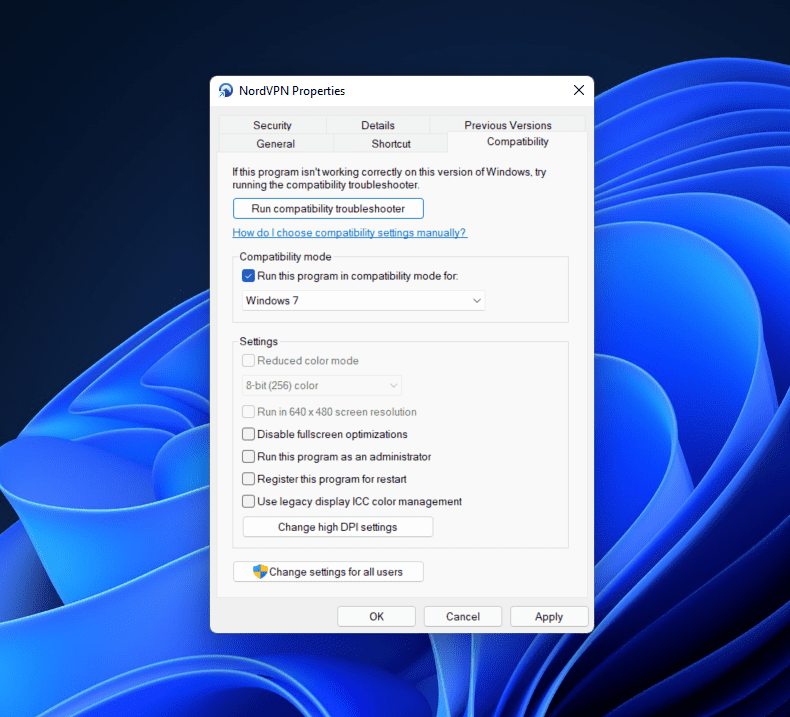
Head to the Compatibility tab in the Properties window.Under the Compatibility Mode in the Compatibility tab, check the checkbox for Run this program in compatibility mode for.
Now, click on the drop-down menu, and select a previous version of Windows. It will be recommended if you select Windows 7 from the drop-down menu.Once done, click on Apply and then click on OK. Now run the NordVPN again and see if the problem persists or not.
Change The VPN Protocol Settings
Another troubleshooting method to try is changing the VPN protocol settings. This will disable the auto-connect feature that will stop the VPN from choosing a protocol and server automatically. To change the VPN protocol settings, follow the steps given below-
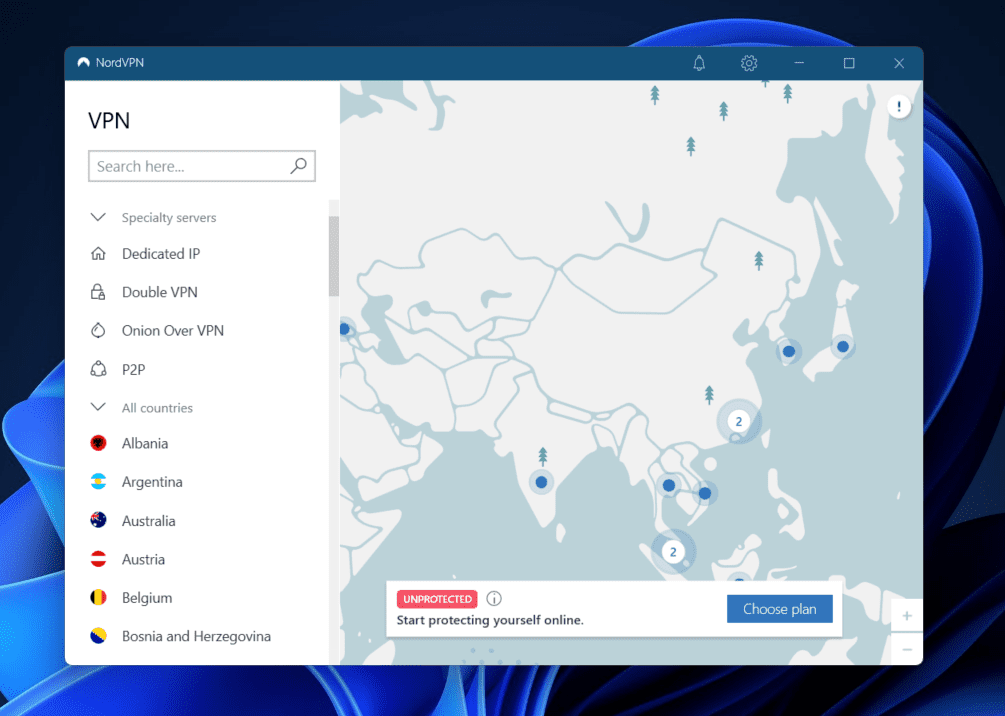
Open the NordVPN app on your PC.Click on the Gear (Settings) icon that you see at the top right corner of the NordVPN window.
Now, click on Auto Connect in the left sidebar.On the next window, turn off the toggle for Choose a VPN protocol and server automatically.
Now, click on the drop-down box next to VPN Protocol and select Open VPN (TCP).After you are done with it, try reconnecting to the server, and you should no longer face any issue with using NordVPN.
Update NordVPN
You may also face this issue if your NordVPN application is outdated. Outdated applications may not be compatible with the latest version of Windows, due to which you may face issues with it. Moreover, outdated applications may also have bugs addressed and fixed in the updates released. You should try updating the NordVPN application and then check if you still face the issue or not. Download the updated version of the NordVPN and install it on your PC. After doing so, try running the application and see if NordVPN is working or not.
Reinstall NordVPN TUN Drivers
Another troubleshooting method that you can try going for is reinstalling the NordVPN TUN drivers. When you connect to a server on a VPN, your connection goes through an encrypted tunnel to protect your activity, which is what NordVPN Tunnel is. If you have been facing issues with the proper working of NordVPN, then you should try reinstalling the NordVPN TUN drivers and check if that fixes the issue for you or not.
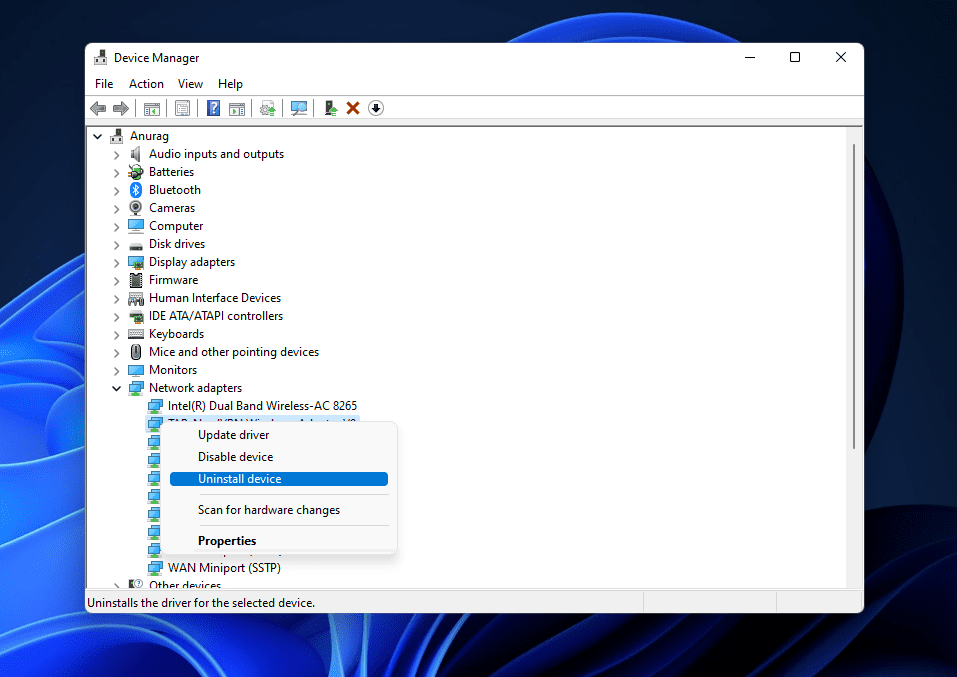
In the Start Menu, search for Device Manager and open it.In the Device Manager, double-click on the Network Adapters to expand it.Here, select NordLynx Tunnel, right-click on it and then click on Uninstall Device.
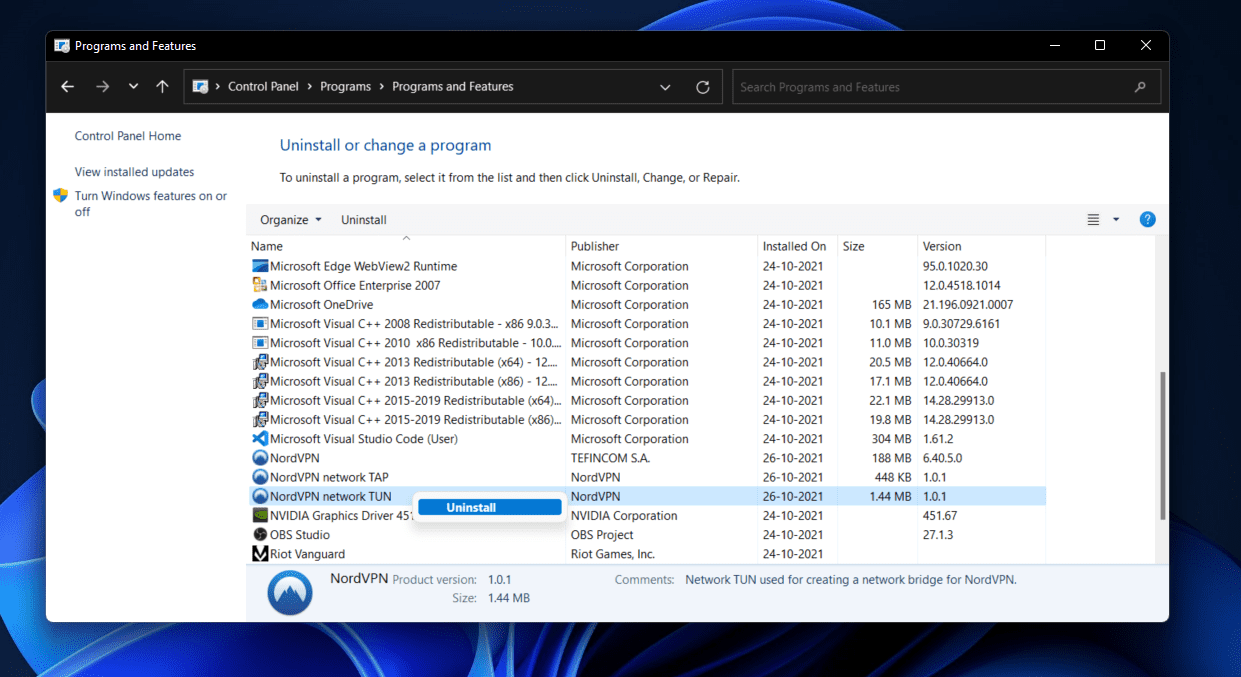
After you are done with this, open the Start Menu, search for Control Panel and open it.In the Control Panel, click on Uninstall a program under the Programs section.Now from the list of apps that open up, search for NordVPN Network Tun. Select the app, and then click on Uninstall to uninstall it.
Once done, restart your PC.Now download and install the NordVPN TUN drivers.After you do this, you should not face the issue you were facing.
Reinstall The Network Drivers
If you are still facing the issue and NordVPN is not working in Windows 11, you should try reinstalling the network drivers even after trying all the above fixes. To reinstall the network drivers, follow the steps given below-
Press the Windows + X key combo, and in the menu that opens up, click on Device Manager.Expand the Network Adapters list in the Device Manager by double-clicking on it.
You will see a list of drivers open up. Select your network driver, right-click on it, and then click on Uninstall Device. Once done, restart your PC, and the network drivers will be reinstalled automatically on your PC.
RELATED GUIDES:
How to Change Servers In NordVPNHow To Change Public VPN To Private In Windows 11Top 10 Best VPN Services For Free Use
Conclusion
After you follow the above steps, you should fix NordVPN not working in Windows 11 issue. If you have been facing issues with the NordVPN and it is not working in Windows 11, then it would be recommended to follow the steps mentioned in the article above, and you should be able to fix the issue you were facing.
Δ