Fix Battle.net Launcher Application Crashing on Windows 11
In this article, we will be discussing how you can fix Blizzard Battle.net not working on launching on Windows 11 PC.
1 Fix Battle.net Launcher Application Crashing on Windows 111.1 Ensure Your Network Is Stable1.2 Try Running The Blizzard Battle.net Launcher With Administrative Privileges1.3 Enable The Secondary Logon Service1.4 Clear The Cache Of The Battle.net Launcher1.5 Reinstall Battle.net Launcher1.6 Perform Clean Boot2 Final Words
Ensure Your Network Is Stable
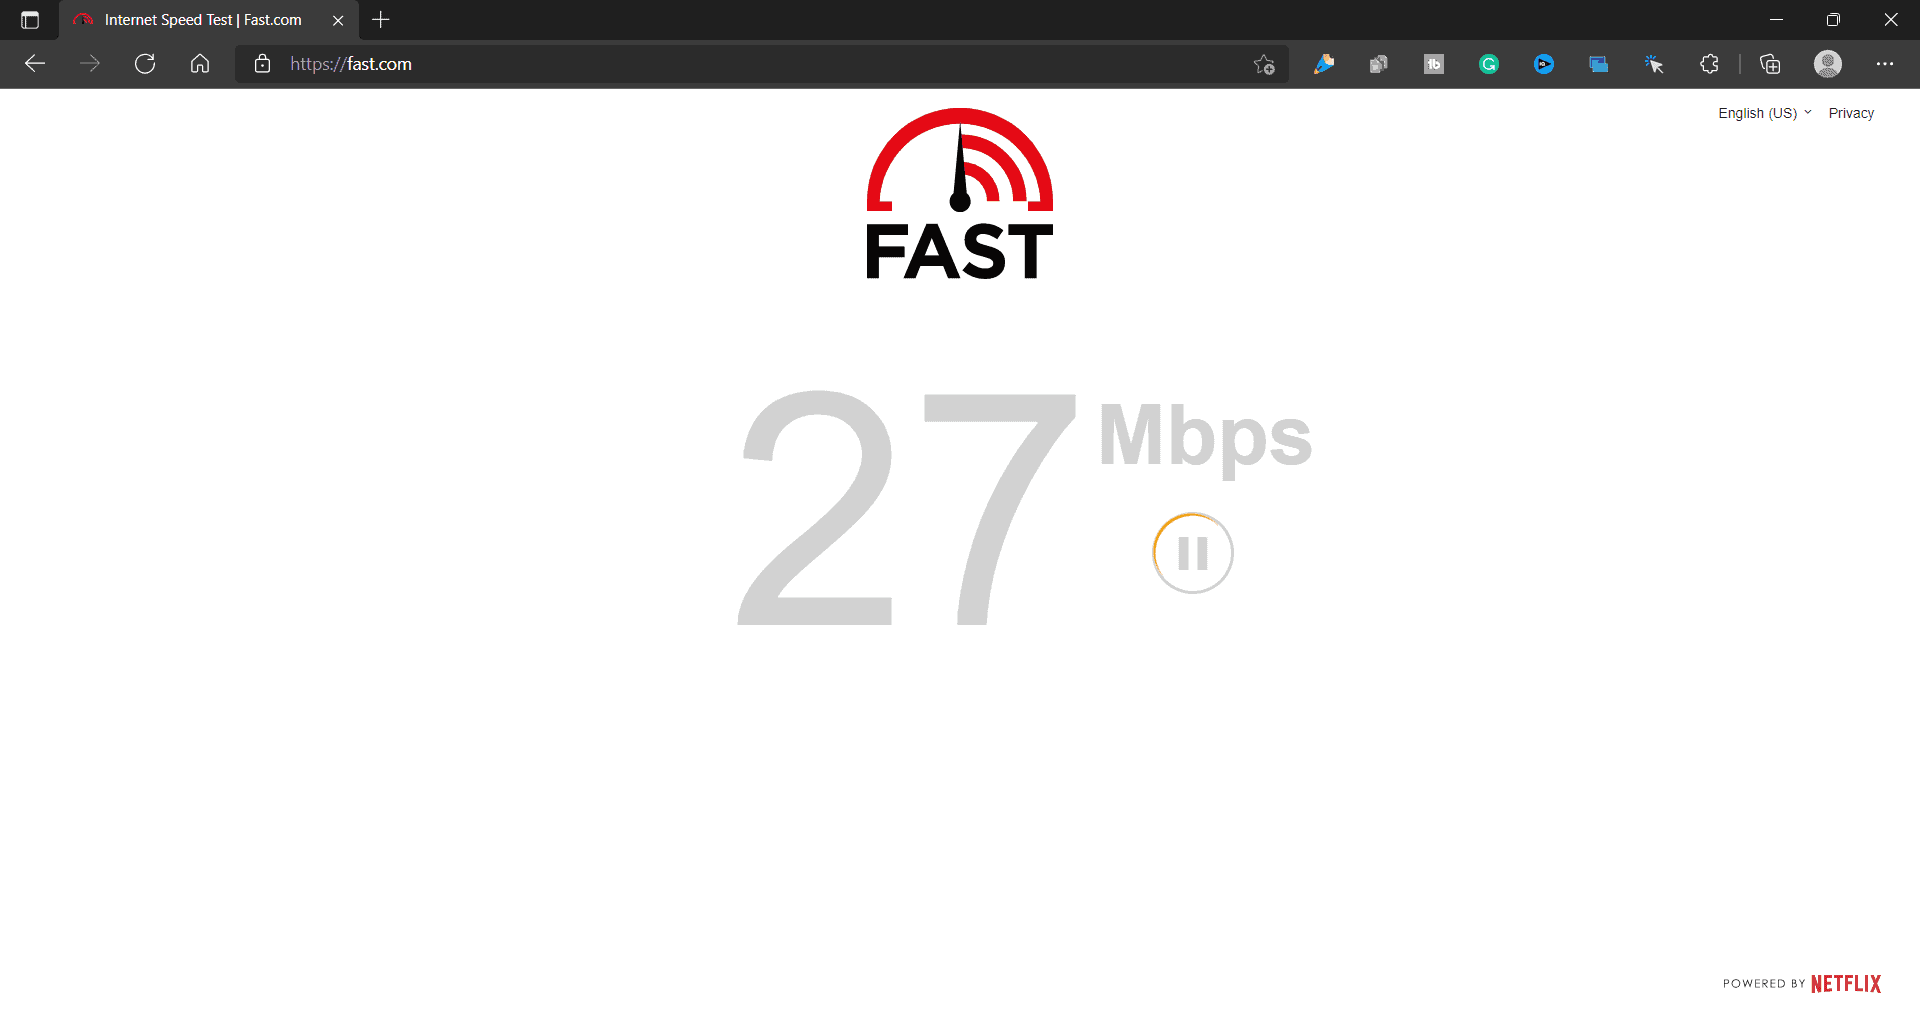
The very first thing that you should try doing is checking whether the network you are connected to is stable or not. If you are connected to an unstable network, this might be why Blizzard Battle.net is not working on Windows 11 PC. You can check the speed of the internet by using Fast.com.
If your internet is slow, then try fixing the issues with it. However, if your network is stable, you are probably facing the issue due to some other reason. If there is no issue with your internet, you should move to the next troubleshooting step in this article.
Try Running The Blizzard Battle.net Launcher With Administrative Privileges
The very next thing that you should try doing is running the Blizzard Battle.net launcher with the Administrative Privileges. To do so, follow the steps given below-
Open the File Explorer on your PC by pressing the Windows + E key combo. In the File Explorer, head to the following address-
C:\Program Files (x86)\Battle.netRight-click on the .exe file of the launcher, and then from the menu that opens up click on Properties. Now, head to the Compatibility tab in the Properties window. You will see the Run this program as an administrator checkbox under the Settings section. Check this checkbox, click on Apply, and click on OK.
Enable The Secondary Logon Service
If the Secondary Logon Service is disabled, you may also face the issue. You should therefore try enabling the secondary logon service and see if it fixes the issue or not. To enable Secondary Logon service, follow the steps given below-
Press the Windows key on your keyboard and search for Services in the Start Menu. Press Enter to open the Services app menu on your PC. In the Services window, search for Secondary Logon.
Right-click on the Secondary Logon service, and then click on Properties. Ensure the Service Status is running in the Properties. If it is not, then click on the Start button. Now, select the Startup type as Automatic.
Once done, click on Apply and then click on OK.
After doing so, you should now be able to run the Battle.net launcher without facing any issues on it.
Clear The Cache Of The Battle.net Launcher
If Blizzard Battle.net is not working or launching on Windows 11 PC, you should try clearing the cache of the launcher. To clear the cache, follow the steps given below-
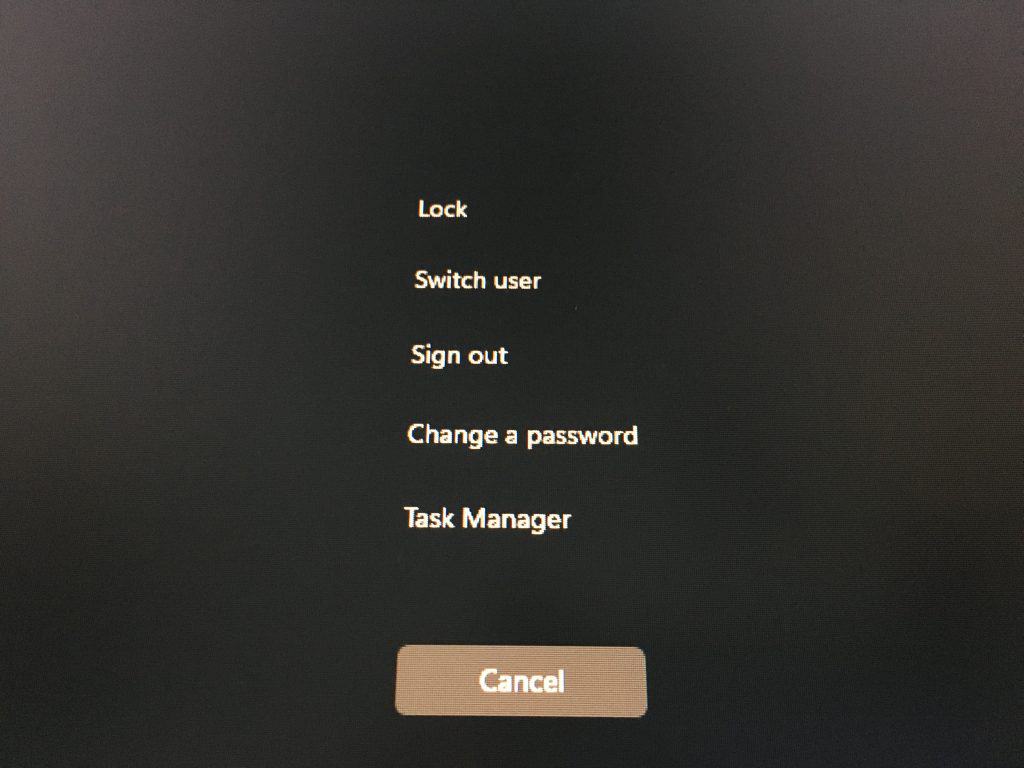
Open the Task Manager on your PC by pressing the Ctrl + Shift + Esc.
In the Task Manager, click on the Processes tab. Now, click on Game Process and click on End Task to end the task. Now, do the same for Agent.exe / Blizzard Update Agent.exe and Blizzard Battle.netAfter doing so, press the Windows + R key combo on your keyboard to open the Run Dialog Box. In the Run Dialog box, type C:ProgramData and hit Enter.Now, in the new window that opens up, select Battle.net folder. Press the Delete button on your keyboard to delete the folder. After doing so, restart the Battle.net launcher, and the issue should be fixed.
Reinstall Battle.net Launcher
If you still face the issue, then try reinstalling the Battle.net launcher. To reinstall Battle.net launcher, follow the steps given below-
Press the Windows key on your keyboard, and then in the Start Menu, search for Battle.netRight-click on Battle.net launcher and then click on Uninstall. Now follow the on-screen instruction to uninstall the launcher. After you have uninstalled the launcher, try installing it again. Install the Battle.net launcher again and set it up. You should now be able to run the launcher without facing any issues.
Perform Clean Boot
The above steps should have fixed the issue; however, if the Blizzard Battle.net is still not working on Windows 11 PC, you should try performing the clean boot and launching the launcher again. Given below are the steps to perform Clean Boot-
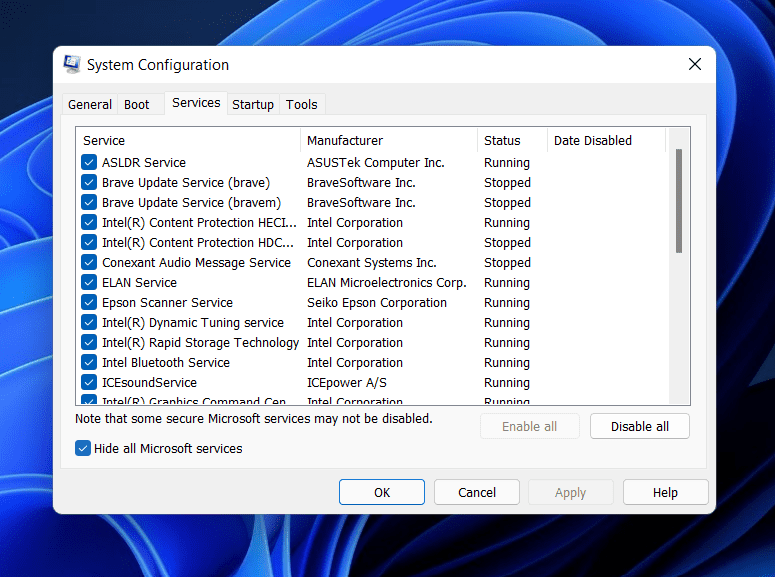
Press the Windows + R key combo, and in the Run Dialog Box that opens up, type msconfig and click on OK. This will open the System Configuration window. In the System Configuration window, head to the Services tab. Check the checkbox saying Hide all Microsoft Services and then click on Disable all.
Now head to the Startup tab, and here click on Open Task Manager. Here, select apps with high impact, and then click on Disable. Restart your PC and relaunch the Battle.net launcher once you have disabled all the apps with high impact, restart your PC and relaunch the Battle.net launcher.
Final Words
These were some steps to fix Blizzard Battle.net not working or launching on Windows 11 PC. If you have been facing issues with the launcher and it is not working properly on your PC, then you can follow the steps in this article, and you will be able to fix the issue you have been facing. RELATED GUIDES:
Epic Games Launcher Won’t Open Or Not Working In Windows 11Fix win32kfull.sys Blue Screen Error in Windows 11How To Fix Steam Won’t Opening and LaunchingFix Dragon Age Inquisition Won’t Launch In Windows 10/11
Δ