How to Fix White Screen on Windows 11 Startup
There are various troubleshooting steps that you can try to fix the PC screen turning completely white on startup, and here we will be discussing them.
1 How to Fix White Screen on Windows 11 Startup1.1 Force Restart Your System1.2 Remove Unnecessary Peripherals1.3 Boot Into Safe Mode1.4 Update Graphics Driver1.5 Update Windows 1.6 Uninstall Update1.7 Perform System Restore2 Final Words
Force Restart Your System
If the issue is caused due to certain temporary glitches, you should try force restarting your system. Press and hold the power button until your PC shuts down. Wait for a minute or two, and then press the power button again to turn on your system. This will force restart your system, and you should no longer face the issue.
Remove Unnecessary Peripherals
You may also face this issue due to incompatible peripherals. If you have connected accessories and peripherals to your PC that are not compatible with your system, you may face this issue. You should remove unnecessary peripherals from your PC and then check if you still face the issue or not. This should probably fix the issue you have been facing, and if not, then move to the next troubleshooting step in this article.
Boot Into Safe Mode
Boot your PC into safe mode. You may often encounter the issue due to conflicting apps, problematic drivers, faulty updates, and various other reasons. Therefore, to continue the troubleshooting steps, boot your PC into safe mode. To do so, follow the steps given below-
Firstly, turn off your PC. Now, press the Power Button to turn on your device. Wait for the Windows logo to appear, and then again and press and hold the power button for a few seconds to turn off the PC. Do this a few times, and your PC will be booted to the Automatic Repair screen. Here, select Advanced Options to head to the WinRE environment. Click on Troubleshoot and then on Advanced Options. Next, click on Startup Settings. Click on Restart, and then upon the restart, press F5 or 5 to boot your PC into safe mode.
Update Graphics Driver
If you have been facing this issue, then you should try updating the graphics driver. To update the graphics driver, follow the steps given below-
Press Windows + X key combo, and then from the menu that opens up, click on the Device Manager option. Expand the Display Adapters tab in the Device Manager by double-clicking on it. Right-click on the graphic driver from the list, and click on Update Driver.
Next, click on Search Automatically for Drivers to update the driver.
Once done, restart your PC and check if the issue is encountered or not.
Update Windows
Another troubleshooting step to follow is updating your Windows. If you have been facing this issue, then it may be due to some bugs on your system. These bugs may easily be fixed by updating the Windows. To update Windows, follow the steps given below-
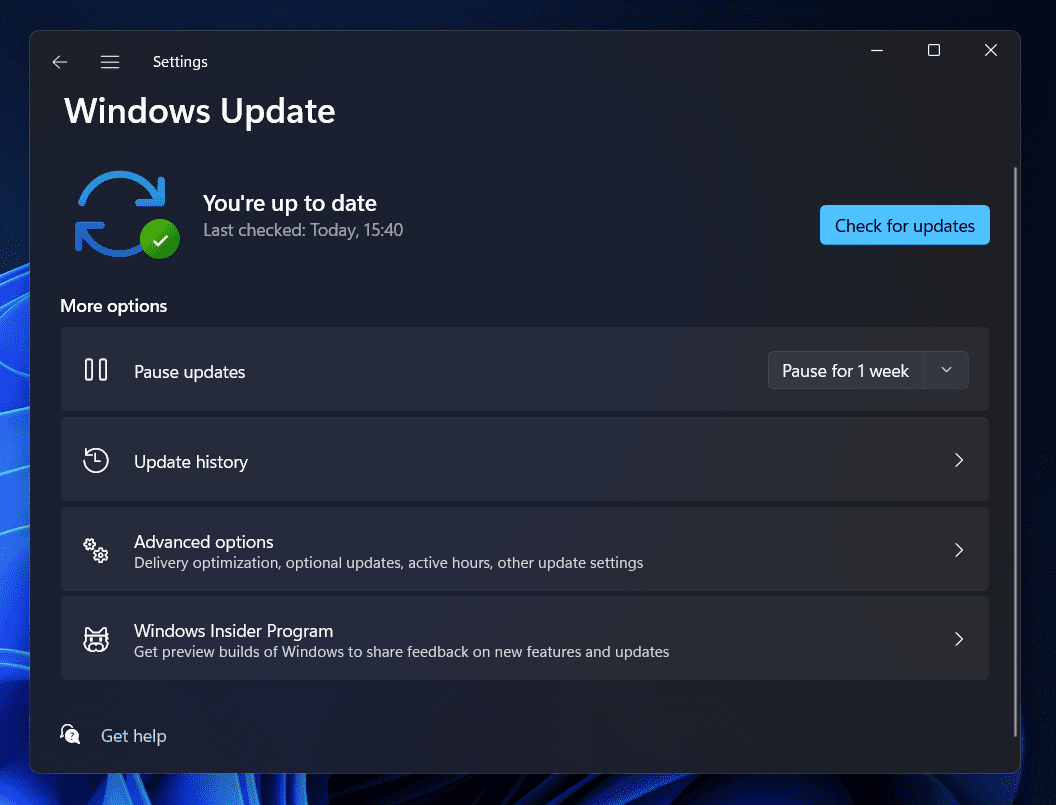
Press Windows + I key combo to open the Settings app on your PC. In the Settings app, head to the Windows Update section. Now on the right side, click on Check for Updates.
Download and install all the updates your PC finds and then restart your PC to apply the update.
Uninstall Update
You may also face this issue due to the recently installed Windows Update. If you started facing this issue after installing Windows Update, you could try uninstalling the recently installed update. Given below are the steps to uninstall Windows Update-
Open the Settings app by pressing the Windows + I key combo. Here, head to the Windows Update section from the left sidebar. Now on the right side, click on Update History.
On the next screen, click on Uninstall Updates. This will open up a Control Panel window.
Now, select the recently installed update, after which you start facing the problem. Click on Uninstall and then confirm uninstalling the update.
Restart your PC and then check if you still face the issue or not.
Perform System Restore
If you still face the issue, you should try performing the system restore. You will need to have a restore point to the time when your PC was working fine to continue ahead with the steps. To perform a system restore, follow the steps given below-
Press the Windows key to open the Start Menu. Here, search for Create A Restore Point and open it. You will be headed to the System Protection tab in the System Properties windows. Here, click on the System Restore button.
Click on the Next button to continue ahead. Select the restore point and click on the Next button to continue ahead.
Now, follow the on-screen instructions to perform system restore.
Final Words
This is how you can fix the PC screen that turns completely white on startup. If you have been facing this issue on your Windows 11 PC, this article will help you solve it. We hope this article helped you with the issue you have been facing. RELATED ARTICLES:
How To Fix Windows 11 Blue Screen of Death Errors5 Best Instant Loan Apps in USA 2022 | $50 Loan Instant AppHow To Change Public VPN To Private In Windows 11How to Fix VPN Not Working in Windows 11How to Fix Windows 11 Bluetooth Not Working Issue
Δ