Starlink is a blessing for those who lack access to the ultra-high-speed optical broadband internet services available in the city. As a potential Starlink customer, you may be wondering where and in what direction you should install the dish. So, your wait is over. Here’s our Starlink dish placement guide.
Starlink Dish Placement 2023 | Position and Adjust Starlink Dish
Starlink recommends installing the Starlink Dish on a roof or other high surface with a clear view of the sky. Check for potential viewing-area obstructions with the Starlink app. You can learn more about this in our Starlink installation guide. In the northern hemisphere, the Starlink dish should be pointed due north and the same goes for the South.
1 Starlink Dish Placement 2023 | Position and Adjust Starlink Dish1.1 Check Your Mounting Surface1.2 Checking for Obstructions1.3 Which Way Should I Face the Starlink Dish?2 What Direction Should Starlink Dish Face?2.1 How to Aim the Starlink Dish?2.2 Does the Starlink Dish Move By Itself?3 Starlink Dish Placement on RV3.1 The Bottom Line
The Starlink Dish, Power over Ethernet (PoE) cables, Router, and some basic mounting accessories are all part of the service package when you sign up for Starlink. Although not great, the accessories are good enough to get you started.
Check Your Mounting Surface
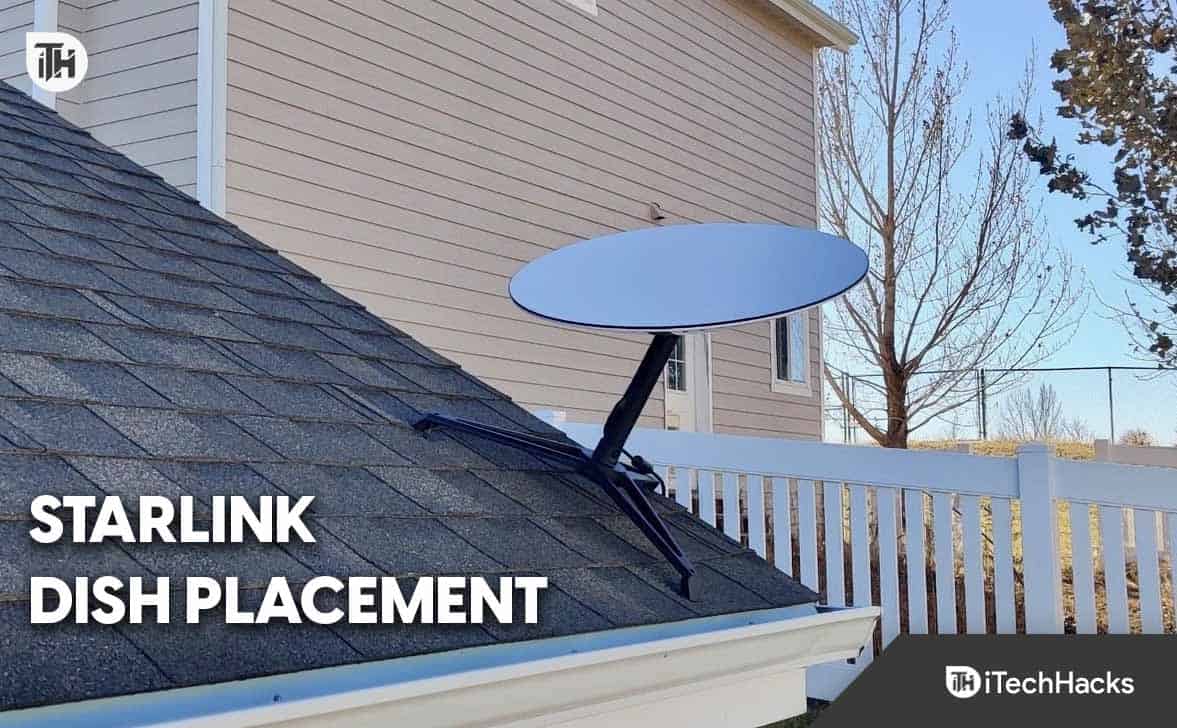
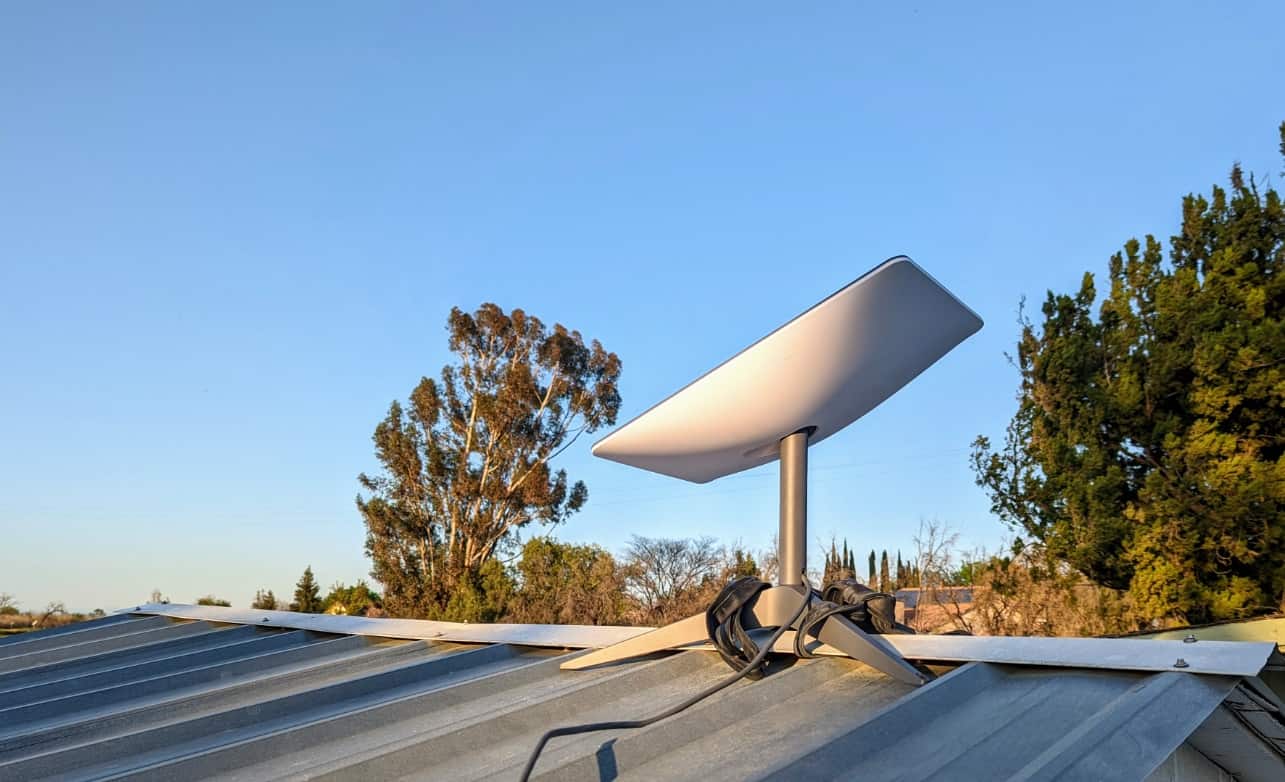
Starlink mounting surface is very important for the dish place to be correct. If you decide to set up your Dish on an unstable surface, like a gravel patch, you run the risk of not only getting spotty reception but also of damaging the Dish and its mounting system. Your Starlink dish should be installed on level ground or on an elevated surface, such as the Roof, a vertical wall, or an eave.
Checking for Obstructions
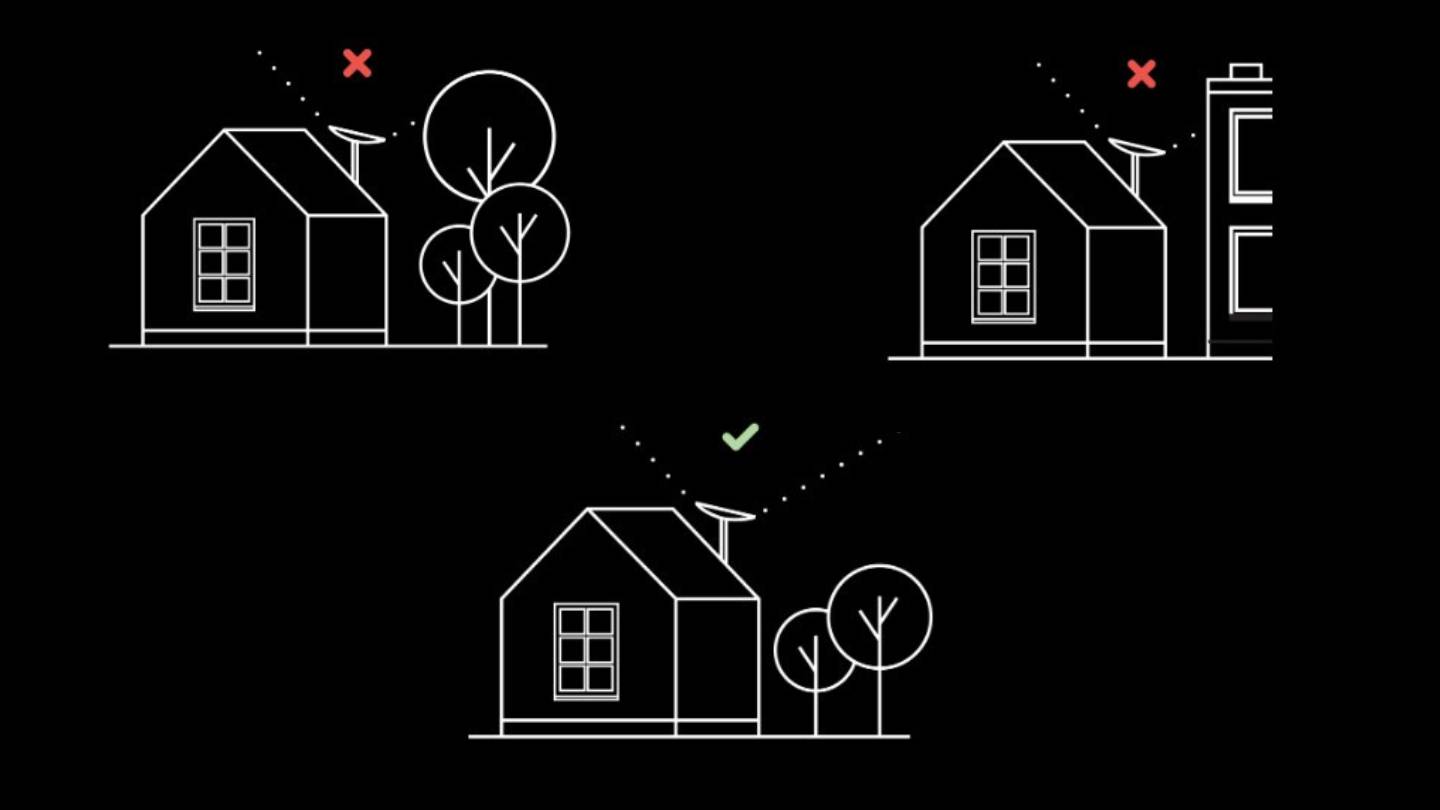
If you’ve already determined which surface will work best for the Dish, then you can start looking for obstructions. Starlink requires a field of view (FOV) of at least 100 degrees for optimal satellite communications. If this crucial requirement isn’t met, then dropouts and erratic behaviour in the network will occur. If your Dish is mounted on the ground, it should be placed away from obstacles like fences, poles, street lamps, buildings, trees, etc. On higher ground, try to avoid obstacles like chimneys, trees, and utility poles that could interfere with your signal.
Which Way Should I Face the Starlink Dish?
When compared to Starlink, other satellite internet services like Viasat and HughesNet, which also need a clear line of sight to their satellites, are much less sensitive. On the other hand, Starlink requires a clear, unobstructed view of the sky from the dish’s location because of its presence in a lower orbit. Ideally, you’ll want to install your Starlink dish as high up on your roof as possible, which means thinking about where you can do that. As a general rule, the higher the obstructions around your home, the higher the dish must be mounted.
What Direction Should Starlink Dish Face?
Those living in areas with no large trees can choose a lower mounting location, but they should still be aware of potential obstacles such as chimneys and other structures.
Luckily, Starlink makes it simple to determine whether or not a given mounting location is appropriate. The Starlink app allows you to use your phone’s camera to look for potential obstructions in the area before you try to set up the dish. You should face the Starlink dish according to the north pole. However, this is only the case if you live in the northern hemisphere. Even though the dish is nearly vertical, it has a very wide field of view. Because of this, Starlink requires an unobstructed horizon-to-horizon view of the sky, regardless of the orientation of the satellites (although a northern orientation would be preferable). By using the obstruction tool present in the Starlink mobile, you can determine which way is the best to face your dish. The obstruction tool will tell you exactly where you need to be clear in the sky so that Starlink can receive a strong signal.
How to Aim the Starlink Dish?
Your Starlink dish has an electric motor installed. This motor helps the dish to self-align in case there are internet or connectivity issues. This self-aligning feature of Starlink satellite dish requires no human intervention. Once you have installed the dish according to Starlink’s guidelines, you won’t have to adjust its orientation in any way. In fact, if you try to move it with your hands. the dish’s internal motors can be damaged. It’s also essential that the dish has some movable space. The dish can rotate and tilt at will, without human intervention. Some users have reported problems after installing the dish in tight quarters, such as next to a chimney or other obstruction, leading to an error message in the mobile app.
Does the Starlink Dish Move By Itself?
As we already mentioned earlier, the Starlink dish can adjust its position with the help of electric motors, so it can align itself. In normal conditions, the dish is not constantly moving. Assuming it can lock onto the satellite constellation, it shouldn’t have to constantly make adjustments. When you restart Starling, it will automatically determine the optimal dish orientation to connect with the constellation. Repeatedly, Starlink satellites are moving in the sky, and so is your dish. A satellite can be tracked without requiring the dish to move. Since the Starlink antennas are phased arrays, they can tune themselves to the incoming signal without the need to physically move the dish. We are not saying that it won’t move, but not regularly. In the case of users who take the dish on the road, the dish may move on its own if they travel a great distance in an RV or boat. Starlink will track the best satellite automatically, even if the target is in motion. Using Starlink while in motion is currently unsupported and will result in the cancellation of your warranty.
Starlink Dish Placement on RV
Starlink has a special RV plan to meet the needs of RV owners. The Starlink RV plan is slightly more expensive than the residential plan but allows users to take Starlink with them wherever they go. To be clear, by activating Starlink’s portability mode, the Starlink residential plan can also be used on the go, but they have to pay a few bucks more. Despite the ease of use, Starlink RV is subject to its own set of prerequisites and limitations. In contrast to its name, Starlink RV cannot be used while the vehicle is in motion. As a result, when you wish to use Starlink, you have to put it outside your vehicle on the road or asphalt. You might void your warranty if you use Starlink while your vehicle is in motion.
The Bottom Line
Well, that’s all we have here about Starlink dish placement and where you should face it. We hope this guide has helped you. Should you have any doubts, make sure to comment down below. RELATED GUIDES:
How to Update Starlink Firmware 2023 Latest Version ListStarlink Down: Is Starlink Down Right Now | Starlink OutageHow to Factory Reset Starlink RouterMedian Starlink Latency And Ping Times 2023How To Order and Buy Starlink Ethernet AdapterStarlink High Performance Dish For In-Motion Upgrade OptionHow to Access Starlink Router Settings | Installation Guide
Δ